Docker as an alternative to runtime version managers

While the usage of Docker in production has mixed reactions, it’s usage for development and continuous integration is overwhelming.

Having used Docker in development for the past two years my usage patterns has changed. To begin with I used Docker as an accessible way to have local instances of Redis or Postgres running on OSX or Windows. More recently I’ve been using it to run various language tools and environments instead of using version managers.

Version managers used to be a necessity. When maintaining more than a few applications, you would end up requiring more than one version of Ruby, Node, Java, etc running on your machine. Version managers made it simple to switch versions, but also become another thing to install and manage. When working with other developers, the problem of pinning to a particular version became harder to maintain. New starters would start with the latest version without realizing team’s current version.

Fast-forward to Docker and we can now have a practical and accessible approach for process isolation. I apply the same method to the various programming language runtimes. For example, when testing upgrading to Node v4 or Node v5 I used a Docker container to experiment without changing my environment.

This method became even more necessary with Golang. Different open source projects built against different versions. I found staying synced to the correct version with the correct configuration and path settings to be non-trivial. Version managers helped maintain my system but didn’t help me sync with others.

With Docker and a simple Bash command, you can launch the correct versions, with the directories mapped to particular locations and interact with it as if it was on your local machine. For example, the following command launches a Golang environment for my application.

docker run -it --rm
-w /go/src/github.com/$(NAME)
-v $(pwd)/vendor/github.com/:/go/src/github.com/
-v $(pwd):/go/src/github.com/$(NAME)
golang:1.4.2

The command maps the current directory to /go/src/github.com/. I store all the vendor dependencies in /vendor/ in source control, but remap them to a different location for the Golang runtime. I can run the same commands such as go get or go build as if Golang was on my host. When I upgrade, I just delete the docker image and pull down the correct version. Nothing else hanging around on my host.
Mark Rendle recently used this same approach for running the latest version of DotNet on different Linux distros called DockNet. By moving the runtime into a container, you have greater control, flexibility and shareability.

Want to see it in action? Load the Katacoda environment below. The editor has a simple “Hello World” application. Clicking Run will launch you into a Docker container, where you can run node, start the process and access the service like usual.

var http = require(“http”);
var requestListener = function (req, res) {
res.writeHead(200);
res.end(“Hello, World!”);
}
var server = http.createServer(requestListener);
server.listen(3000, function() { console.log(“Listening on port 3000”)});
Certain Cloudflare IP Addresses Blocked By Sky Broadband’s Adult Block List?

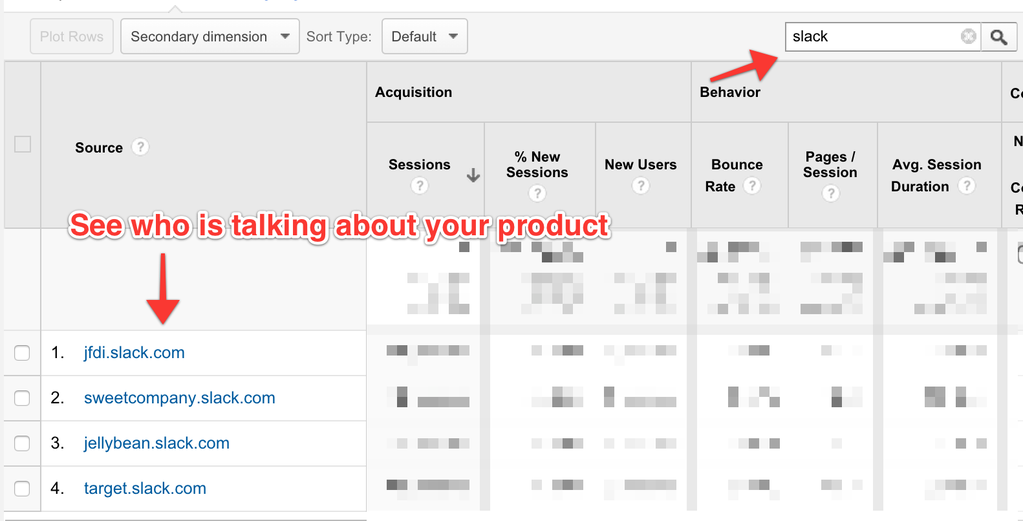
An interesting Hacker News post this morning mentioning that certain Cloudflare IP addresses might be on the Sky Broadband blocklist.  As a user of Cloudflare this is extremely concerning as end users will start to see random behaviour of my websites.

As more ISPs start to block wide reaching services without consideration for other websites then this will only happen more frequently.

https://news.ycombinator.com/item?id=9020646

Tip: Empty Cache and Hard Reload in Chrome

Working with JavaScript and CSS daily is a joy, until it’s not and then it’s a nightmare. Browser caching is just one of the aspects that can make working with these technologies a little more difficult.

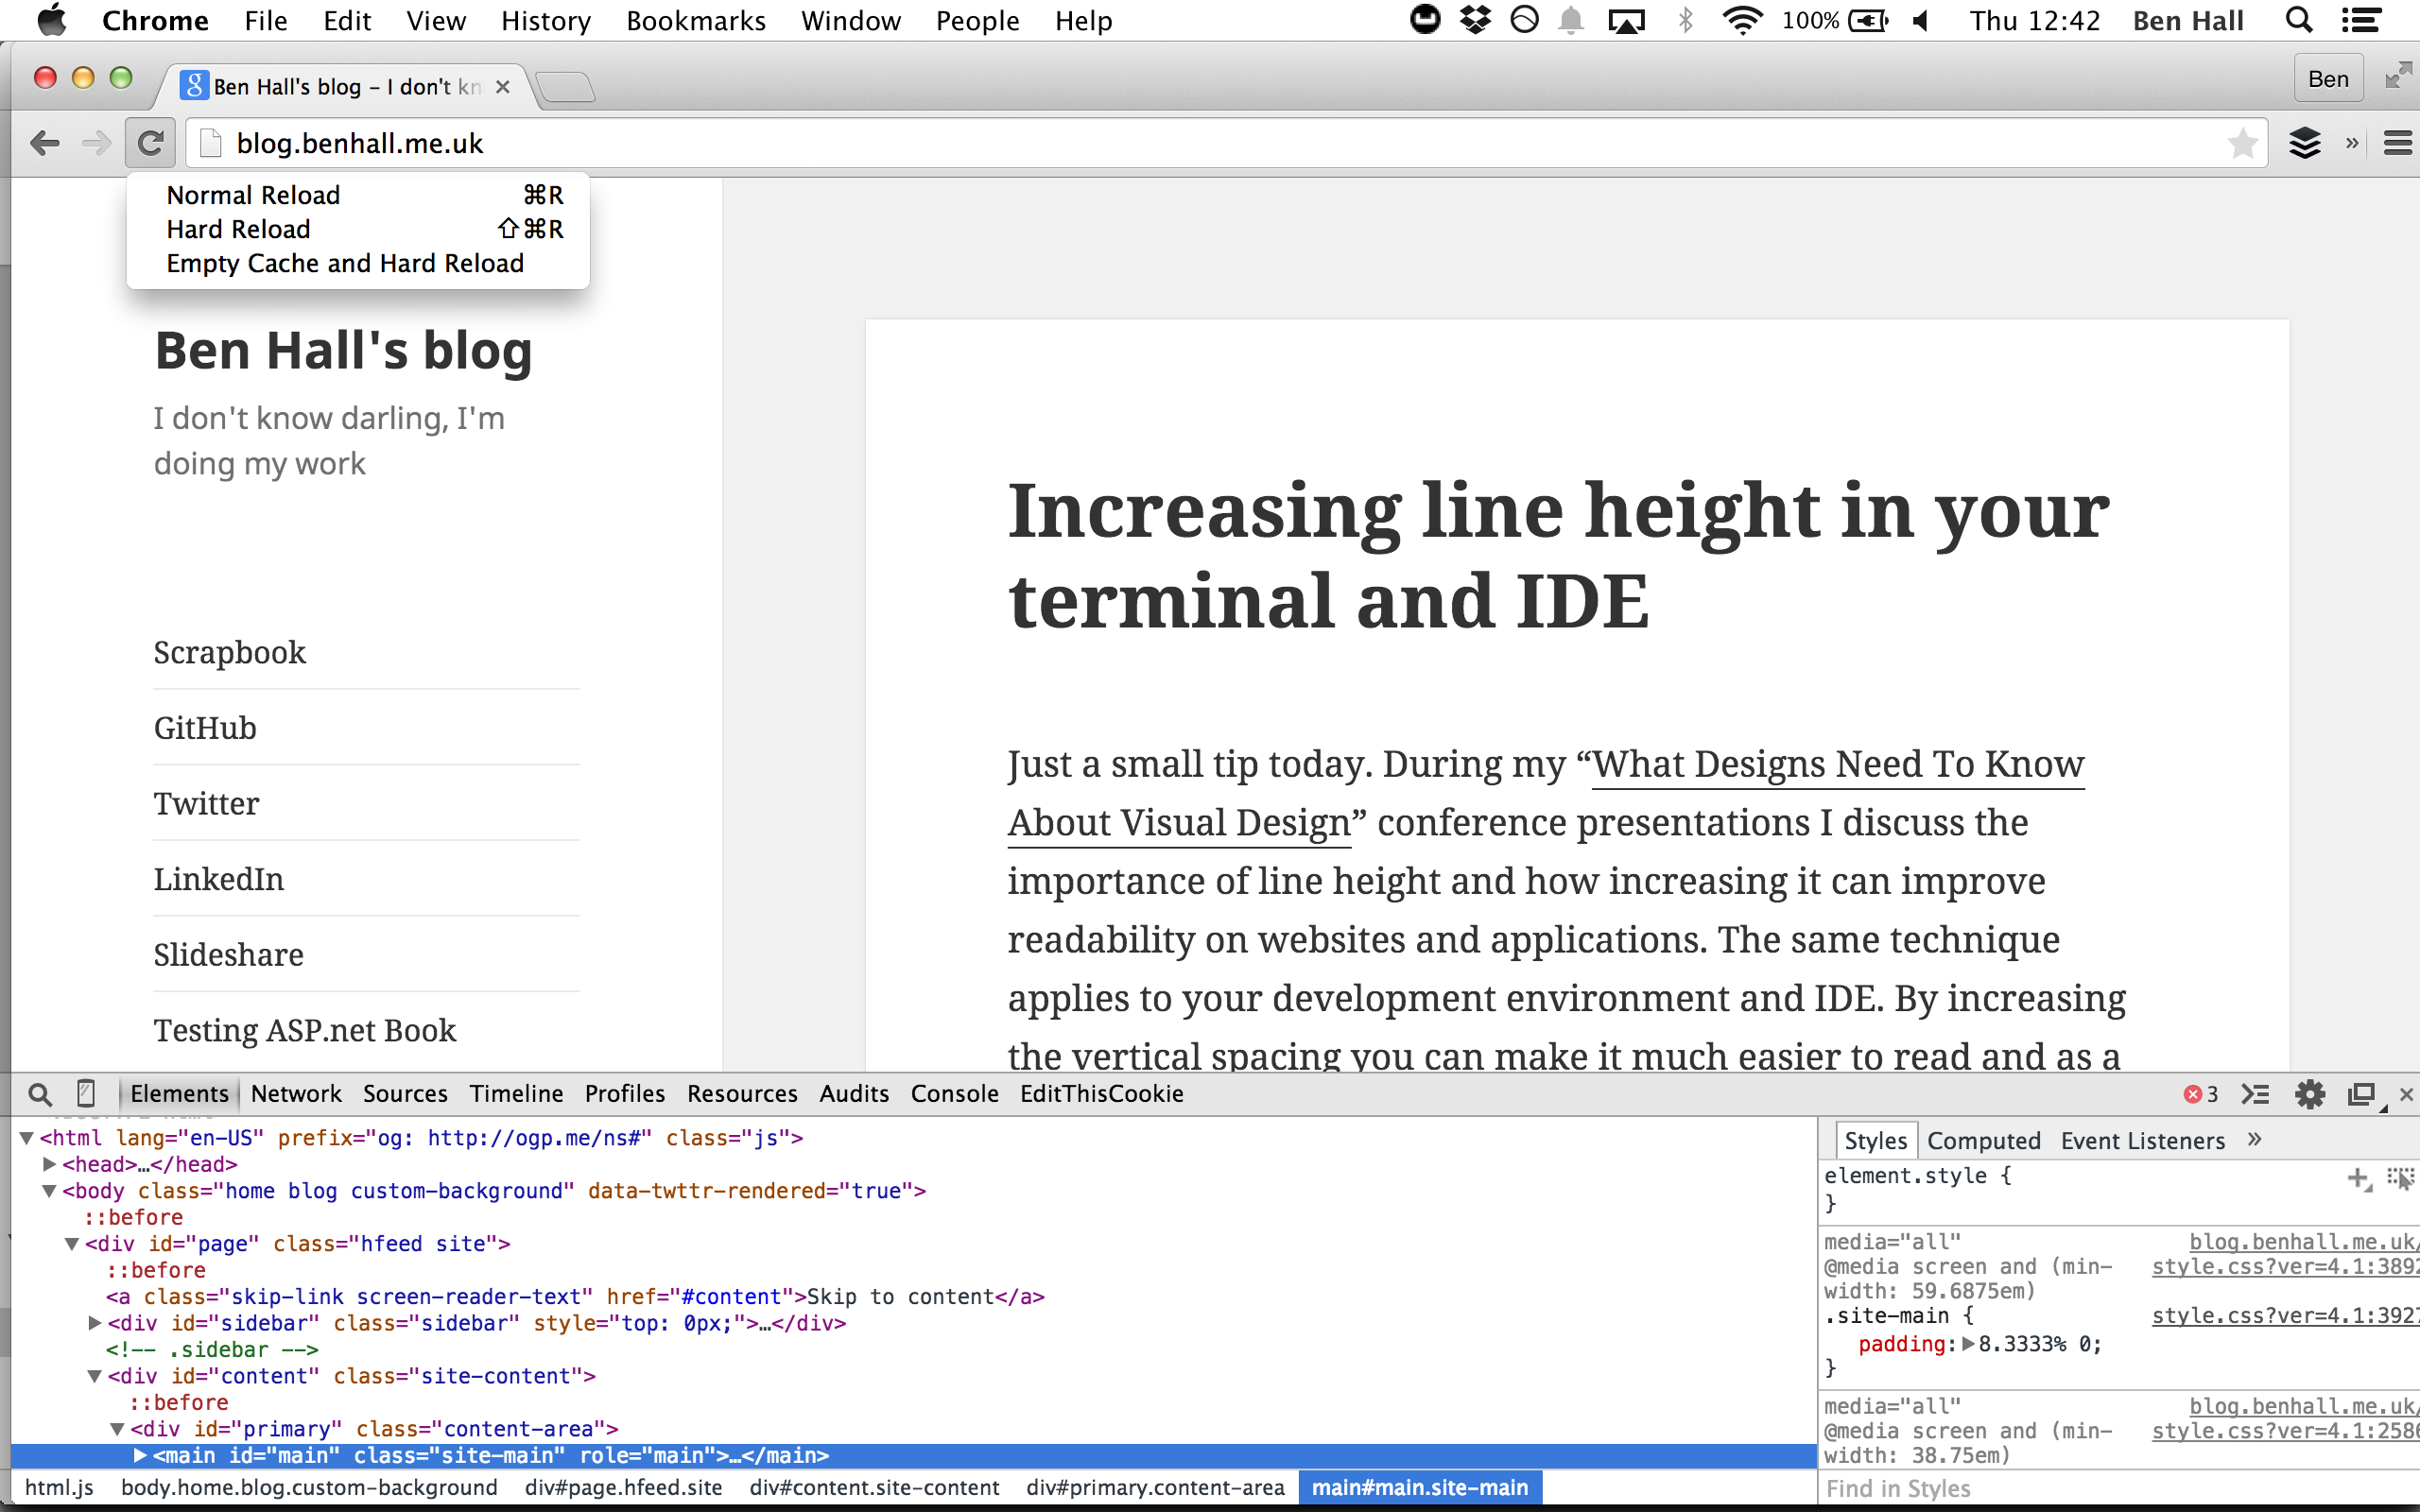
To make life easier, with the Dev Tools open in Chrome, click and hold the Reload menu item. A new dropdown will appear allowing you to Empty Cache and Hard Reload the page.
Screenshot 2015-02-05 12.42.34

Increasing line height in your terminal and IDE

Just a small tip today. During my “What Designs Need To Know About Visual Design” conference presentations I discuss the importance of line height and how increasing it can improve readability on websites and applications. The same technique applies to your development environment and IDE. By increasing the vertical spacing you can make it much easier to read and as a result shouldn’t require as much effort meaning you’re slightly less drained at the end of the day.

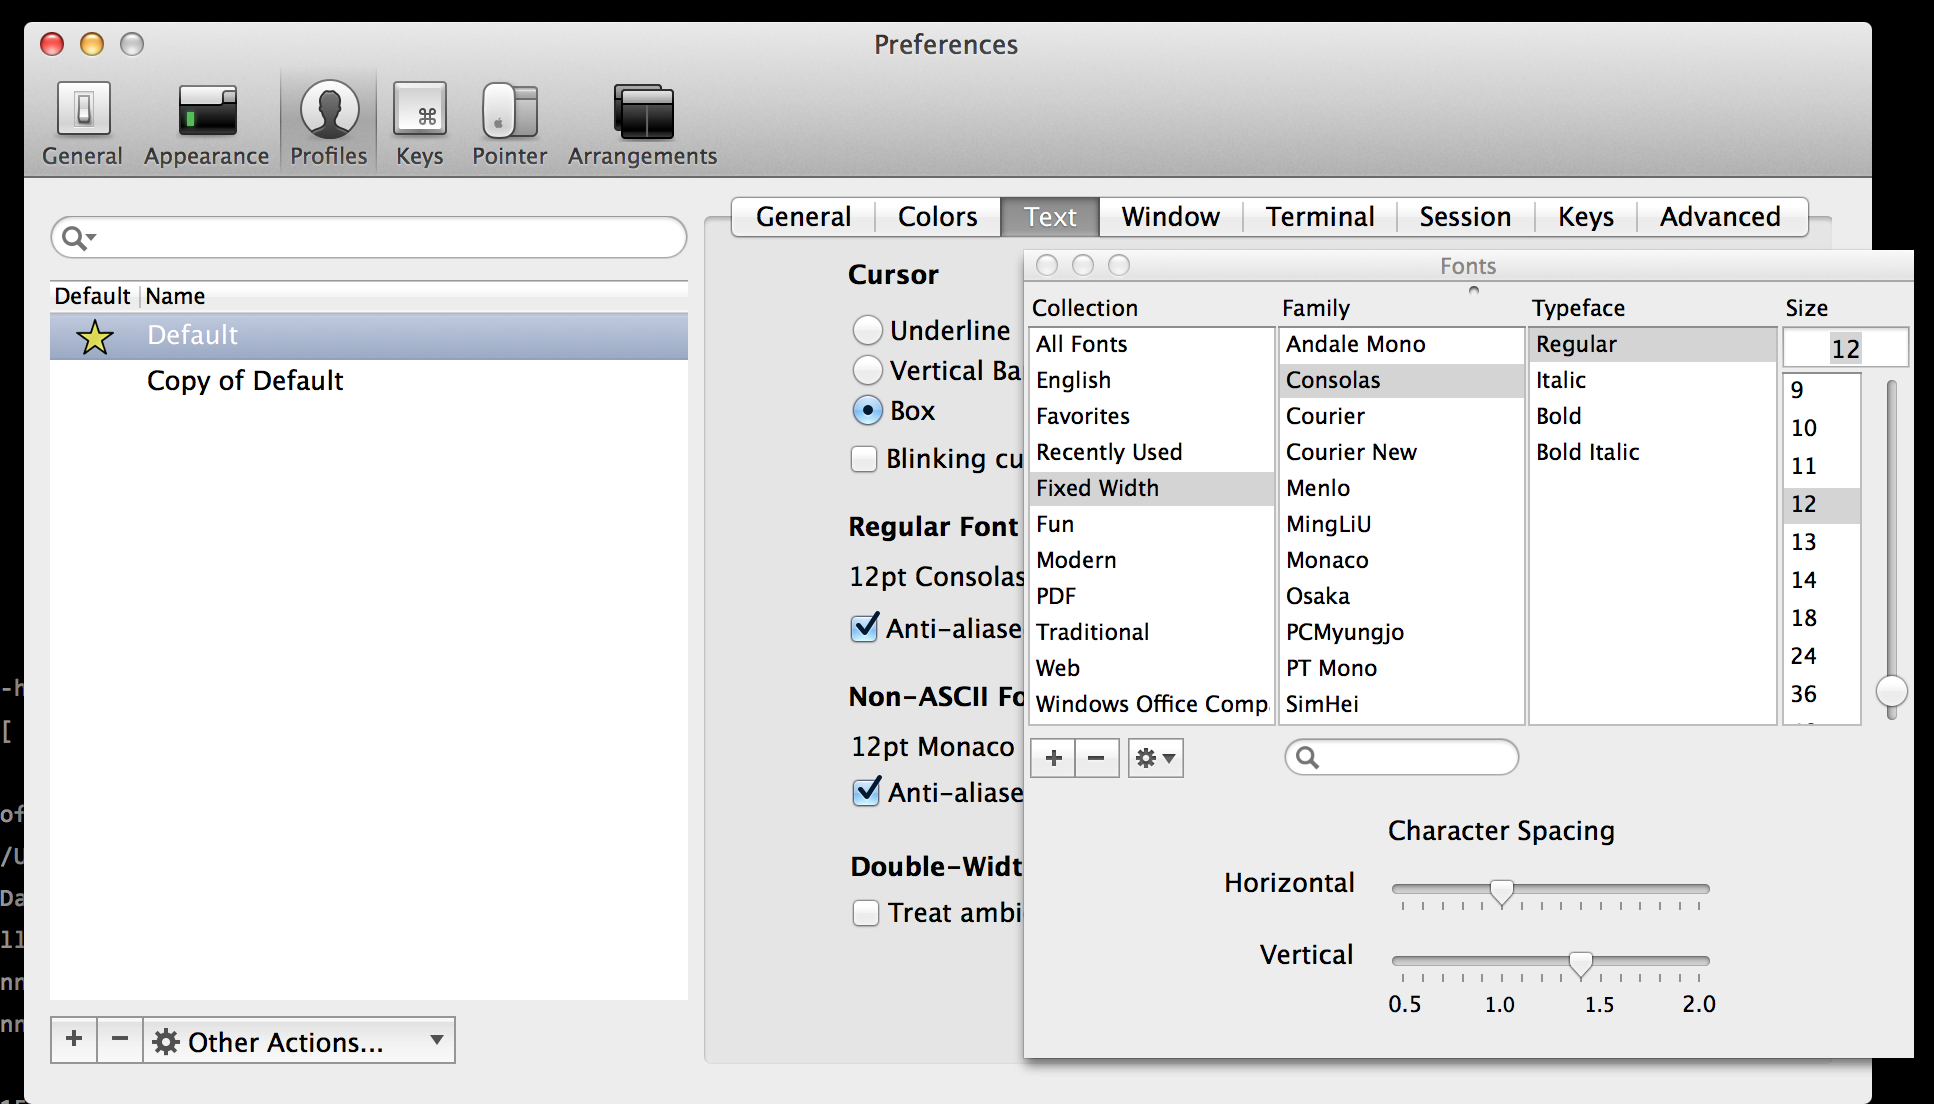
Within iTerm you can set the line height in the text preferences.
Screenshot 2015-01-23 15.29.18

Enabling infinite scrollback in iTerm


The default profile within iTerm limits how many lines of output it caches and allows you to scroll back.  When debugging a large amount or a long running terminal session this can become frustrating.

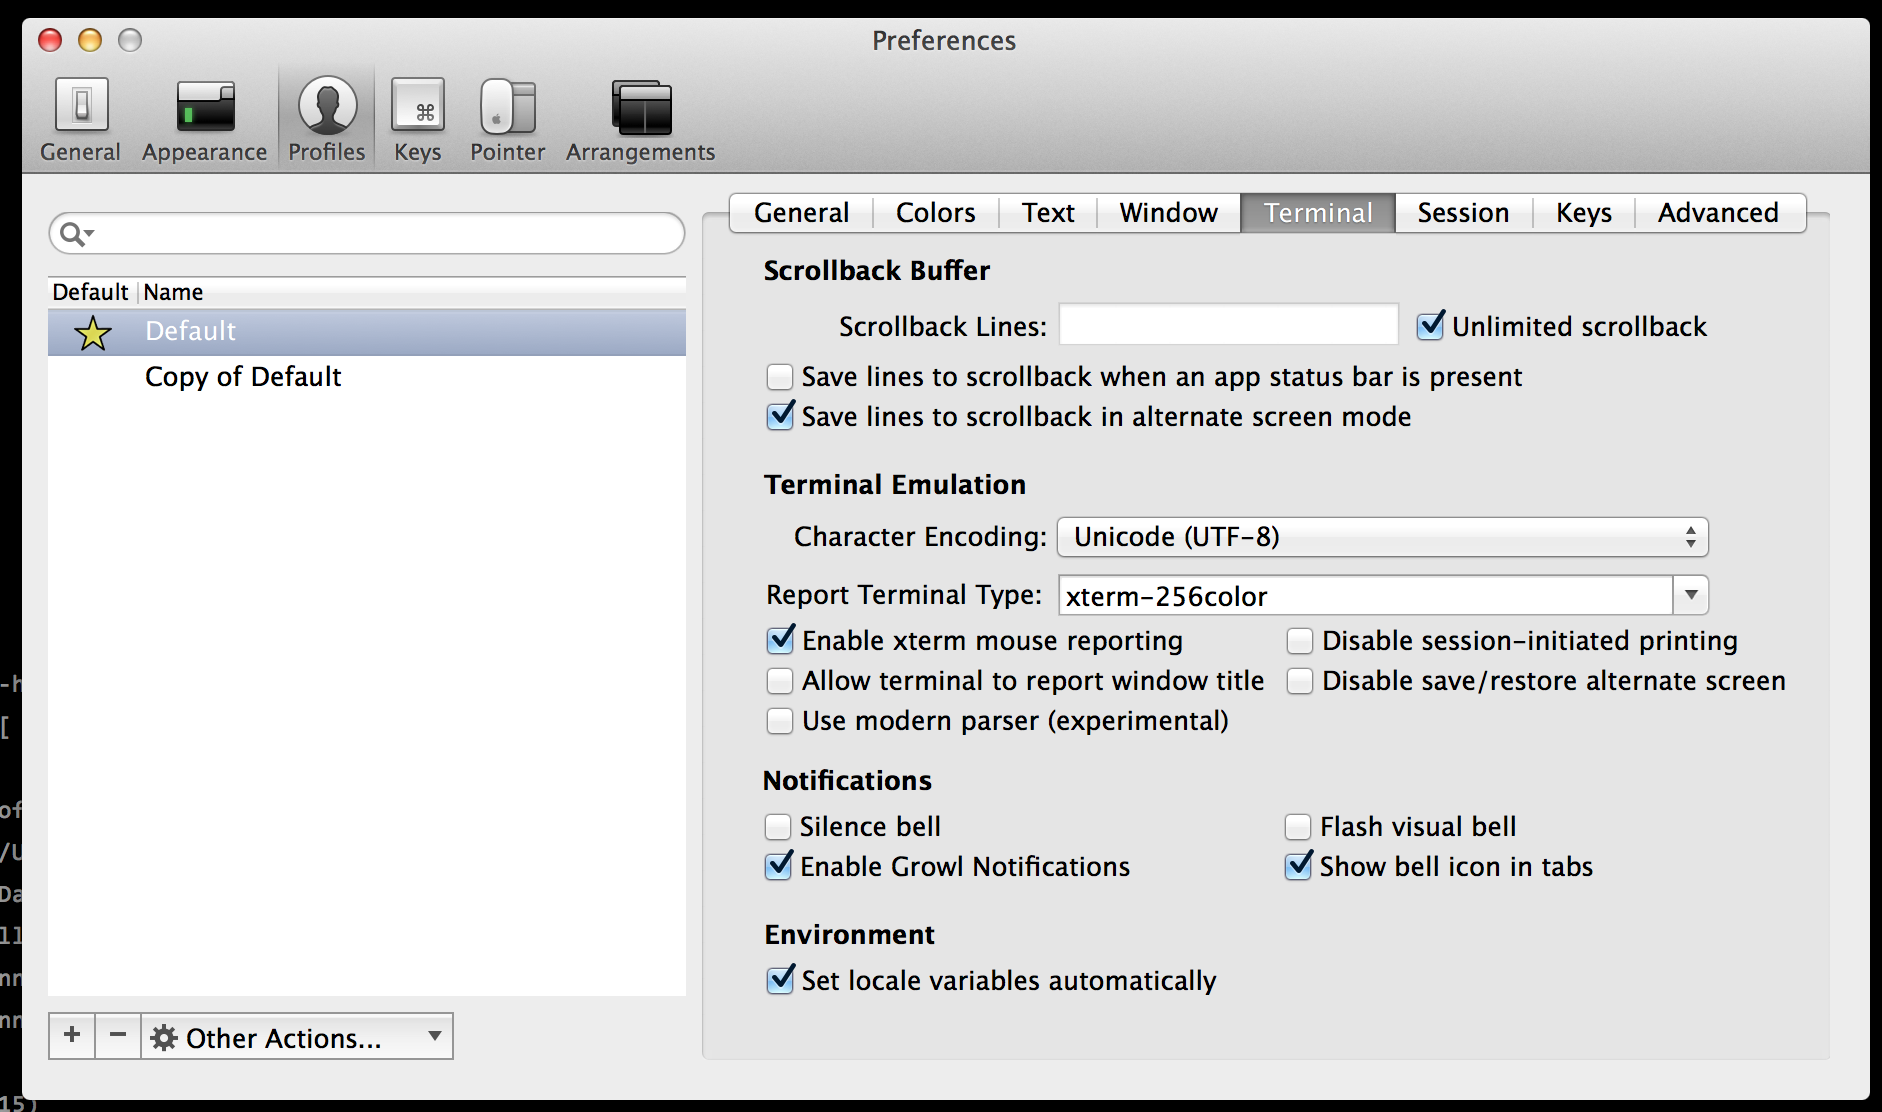
To enable unlimited scrollback simply go into the preferences, on the terminal tab you’ll find the “Unlimited scrollback” option. Tick and you’ll be able to see everything and not just the last 10000 lines in future.


iTerm Scrollback lines

Making Cron jobs easier to configure with Special Words

Cron jobs are a very useful tool for scheduling commands however I find the Crontab (Cron Table) syntax nearly impossible to remember unless I’m working with it daily.

Most of my Cron jobs are fairly standard, for example backup a particular directory every hour. While configuring a new job I looked around to remember how to execute a command at a particular time every day. Most of the online editors I tried are more complex than the syntax itself. Thankfully I came across an interesting post from 2007 that mentioned Special Words. It turns out that you can use a set of keywords as well as numbers when defining a job:

@reboot Run once at startup
@yearly Run once a year
@monthly Run once a month
@weekly Run once a week
@daily Run once a day
@hourly Run once an hour

To run a command daily I can simply use:

@daily <some command>

But when is @daily? Using the run-parts command we can find out when each keyword will be executed, in this case 6.25am. A strange time but works for me!

$ grep run-parts /etc/crontab
17 * * * * root cd / && run-parts --report /etc/cron.hourly
25 6 * * * root test -x /usr/sbin/anacron || ( cd / && run-parts --report /etc/cron.daily )
47 6 * * 7 root test -x /usr/sbin/anacron || ( cd / && run-parts --report /etc/cron.weekly )
52 6 1 * * root test -x /usr/sbin/anacron || ( cd / && run-parts --report /etc/cron.monthly )

It’s 2015, please just let me store data

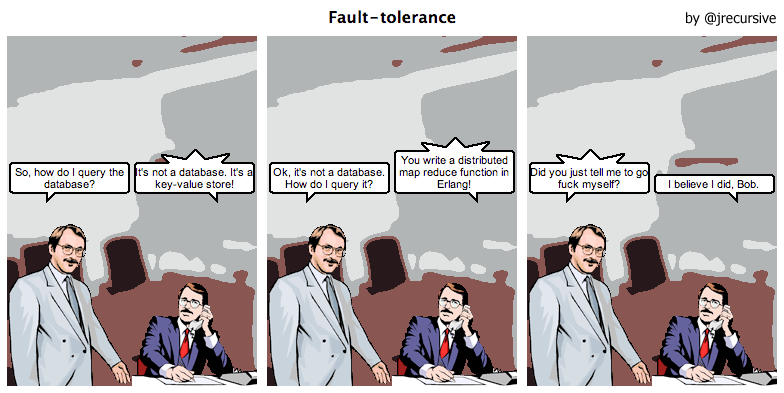
Looking back at 2014 I worked with CouchDb, MongoDb, LevelDb, Cassandra, ElasticSearch, Redis, Neo4j, Postgresql and MySQL to manage data. Faced with a new prototype I reached the point where I needed to save data. I don’t need it to scale yet, I don’t need it to have map/reduce and storage for billion of records, I don’t even need it to be quick. I just want to store data and in future be able to easily have the data returned.

Turns out my choices are limited to be point of flat files looking like the best option. Before I went down that path I tried one more approach, Sqlite3. This post will investigate how sane Sqlite3 would be given it’s stable and embeddable.

Firstly we need to create the database schema, the solution is already becoming time consuming and boring. The script I created when the application loads is as follows:

var path = require("path");
var fs = require("fs");
var file = path.join(__dirname, "data.db");
var sqlite3 = require("sqlite3").verbose();

function create(cb) {
  var db = new sqlite3.Database(file);

  console.log("Creating db...");
  db.serialize(function() {
    db.run("CREATE TABLE user (id integer primary key, fb_id TEXT, name TEXT, email TEXT, created_at TIMESTAMP DEFAULT CURRENT_TIMESTAMP)");
    console.log("Created db");

    cb();
  });
};

function init(cb) {
  fs.exists(file, function(exist) {
    if(exist) {
      return cb();
    } else {
      create(cb);
    }
  });
};

module.exports = init;

If the schema changes then we’ll need to write an additional script, a problem we can worry about for another day.

Once we’ve created the DB then inserting data becomes straight forward apart from the fact that we might not know the data in advance meaning migration scripts are likely to happen sooner rather than later.

db.run("INSERT INTO user (fb_id, name, email) VALUES (?,?,?)", [fb_id, name, email], function(err) {
  res.status = 201;
 res.end();
});

One nice added bonus is the sqlite3 command line tool.

$ sqlite3 db/data.db
SQLite version 3.7.13 2012-06-11 02:05:22
Enter ".help" for instructions
Enter SQL statements terminated with a ";"
sqlite> select * from user;

White Sqlite3 works nicely to store data, having to manage a schema is an overhead and additional problems I don’t want to deal with. It’s 2015, why can’t I just store some data?

fault-tolerance_NoSQL

Dockerfile and the :latest tag anti-pattern

It’s fair to say that 2014 was “The Year Of The Container” with Docker and the ecosystem growing at exponential rates. With fast movements and innovations happening it’s easy to overlook some early considerations and consider them best practice. One concern is focused on the use of the :latest tag in a Dockerfile.

The FROM instruction in your Dockerfile accepts either the image or an image and a tag. In the documentations it states that “If no tag is given to the FROM instruction, latest is assumed.”

Docker FROM Instruction

Let’s take a closer look at how the :latest works with Node.js based on the official images. The list of tags for Node can be found on the Docker Hub Registry.

Firstly, node:latest will always point to the latest version. This has two side-effects. The first is that you’ll automatically be running future major releases which could include breaking changes for your application. If everyone uses node:latest then once 0.12 is released there will be a number of companies running 0.12 without being prepared. While we hope test coverage would capture potential issues it could have adverse effects.

The second is based on Docker’s ability to reuse base images. If a new minor release occurs between image builds then you’ll need to download and store these minor revisions. This increases space required on the build server along with the time required due to downloading the latest version of Node.js.

Given this we have three choices when picking our FROM instruction.

FROM node:latest – Always download the latest stable, ignoring major/minor revisions.
FROM node:0.10 – We’re happy with any 0.10 releases, we’ll upgrade to 0.12 when we are ready.
FROM node:0.10.34 – We’ll manage the upgrade between minor versions.

The last one defines that we’ll always run against 0.10.34 of node, this gives us confidence that our base-line won’t change without us knowing.

While you may think this isn’t an issue because it’s only node, what about the latest version of ubuntu? As Dockerfiles become a long term foundation of a project, using “FROM ubuntu” could point to a different version than what the original developers intended. In future I will be using a fixed tag and upgrading when required.

How I run Blog.BenHall.me.uk and other sites using Docker (January 2015)

Over the past few months I’ve migrated a number of my websites including Blog.BenHall.me.uk to containers and Docker. The main motivation was to reduce the cost of hosting different websites, APIs and databases while allowing me to quickly bring online new domains/sites for testing.

At the start of the 2014 I hosted everything on Rackspace however as my circumstances and the products I worked on changed I looked elsewhere. Having moved away from PaaS offerings like Heroku and Azure due to inflexibility and performance I’ve found a nice home hosting with Digital Ocean. Their performance is amazing and the cost is incredible plus they have a London data centre. My personal referral link will give you $10 credit to get started so you can see the benefits for yourself. For small instances this is equal to one or two months free.

With Digital Ocean I can use Docker where as before I ran a standard Ubuntu, Nginx, WordPress and MySQL configuration. With Docker I still have Ubuntu as the base OS image to keep the configuration simple. For WordPress and MySql I use the official images. The configuration is very straight forward with environment variables and links used to communicate between the two containers. For Nginx I used to use the official repository, however creating configuration files took time and wondered if there was a simpler solution that could take advantage of Docker. The result is Nginx Proxy, an open source project that automates the configuration of Nginx based on Docker metadata. By defining a VIRTUAL_HOST environment variable I can expose a container via Nginx without needing to craft separate configuration files.

While Nginx Proxy is great for a single host but it didn’t support default hosts meaning any domain mapped to the server but without a Nginx setting would return 503. With a simple modification to the Nginx Proxy script I was able to define a DEFAULT_HOST for the server. The change is available at https://github.com/BenHall/nginx-proxy/tree/default_host and https://registry.hub.docker.com/u/benhall/nginx-proxy/

With the combination of Digital Ocean, Nginx Proxy, WordPress and MySQL I have a flexible server to meet my needs with very little maintained required. To ensure my blog is available I use Uptime Robot and Cloudflare.

When I need to bring a new website online I simply point the domain to the server via Cloudflare, create a container which is run with the VIRTUAL_HOST variable. Nginx is automatically configured to handle the new domain. If I don’t have a site available then it’s just parked at my personal blog.