After you have created your amazing live writer plugin, you will need to actually install the plugin on the users machine.
In this post, I will discuss how to create an installer (msi package) for your plugin which you will be able to provide to your users.
I will be using the Setup Project template within Visual Studio 2005. I would have used WiX but I think it’s a lot more complex to setup initially. One day, I might look at WiX in more detail.
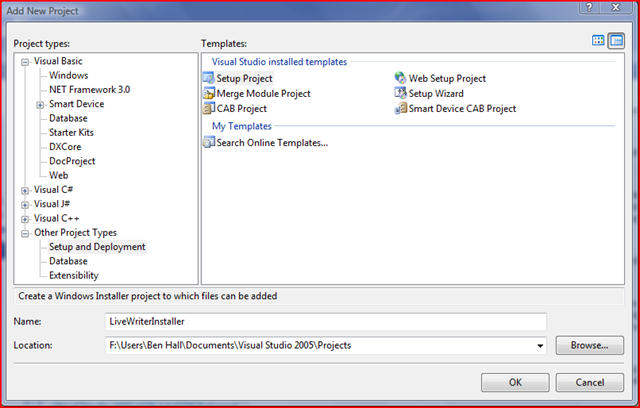
After you select the project, you will be shown a File System window with the installer config files in your solution. The installation allows you to place files in the Applications folder, the user’s desktop and the user’s program menu. If you click right the solution project, you can view different parts of the installer. For example, you can select Registry to make changes to the registry during the installation.
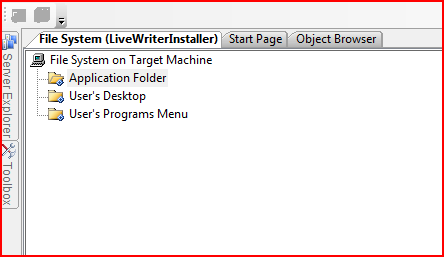
In the above dialog, if you add a file to the Application Folder, then when the installer is executed, the file will be placed there.
When creating the setup, the first thing to do is set where you want the installer to put all the files. In this case, it will be the plugin directory for Windows Live Writer. Note, in Beta 3 this has moved.
Within the properties for the Application Folder, set the DefaultLocation to
[ProgramFilesFolder]Windows LiveWriterPlugins
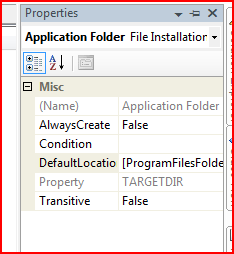
This simply says, place all the files in the user’s program filesWindows LiveWriterPlugins.
The next thing to do is to add the files. Right click in the blank Application Folder and select Add > Project Output. This takes the output from the other projects in the solution and includes it in the setup.
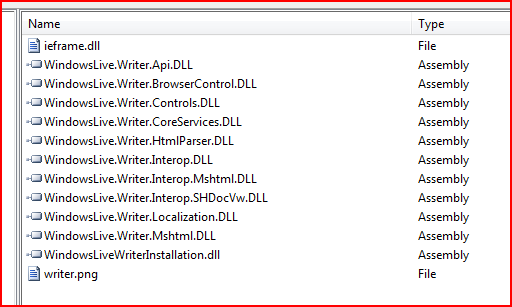
However, there are a number of assemblies listed which we don’t want to install (they are referred by the API, but don’t require deployment). Highlight all the files you don’t want, go to the properties dialog and set the Exclude property to True.
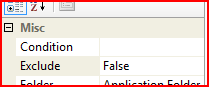
The files will then be removed from the Application Folder. If you look in Solution Explorer, you can see that it has listed all the Dependences, however has excluded the selected ones.

You can now build the project and the output text should be similar to below.
—— Starting pre-build validation for project ‘LiveWriterInstaller’ ——
—— Pre-build validation for project ‘LiveWriterInstaller’ completed ——
—— Build started: Project: LiveWriterInstaller, Configuration: Debug ——
Building file ‘F:UsersBen HallDocumentsVisual Studio 2005ProjectsLiveWriterInstallerDebugLiveWriterInstaller.msi’…
Packaging file ‘writer.png’…
Packaging file ‘WindowsLiveWriterInstallation.dll’…
========== Build: 1 succeeded or up-to-date, 0 failed, 0 skipped ==========
From the output, you can see that it has created us a msi file. This is what we need to give to our users in order for them to be able to install the plugin.
When we launch the MSI, it will look just like a normal installer.
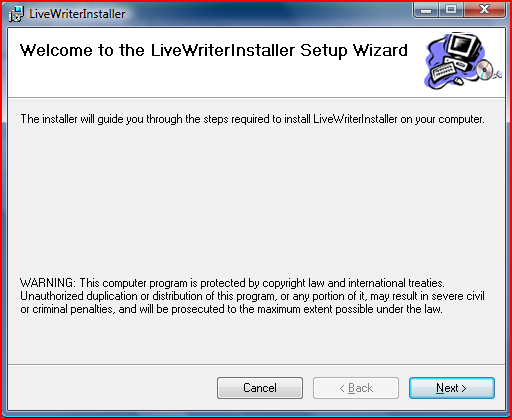
As you can see from the screenshot below, the location for where the installer will copy the files too is set correctly by default.
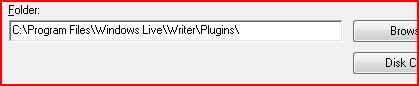
As for repair and uninstall part of the installer, they come for free by default.
You can now upload the MSI to your blog / Live Gallery for everyone to enjoy. This has just been a quick overview, but it should be enough to get you started.
Ben, you are now officially my new hero! Thanks for posting this!