Docker as an alternative to runtime version managers

While the usage of Docker in production has mixed reactions, it’s usage for development and continuous integration is overwhelming.

Having used Docker in development for the past two years my usage patterns has changed. To begin with I used Docker as an accessible way to have local instances of Redis or Postgres running on OSX or Windows. More recently I’ve been using it to run various language tools and environments instead of using version managers.

Version managers used to be a necessity. When maintaining more than a few applications, you would end up requiring more than one version of Ruby, Node, Java, etc running on your machine. Version managers made it simple to switch versions, but also become another thing to install and manage. When working with other developers, the problem of pinning to a particular version became harder to maintain. New starters would start with the latest version without realizing team’s current version.

Fast-forward to Docker and we can now have a practical and accessible approach for process isolation. I apply the same method to the various programming language runtimes. For example, when testing upgrading to Node v4 or Node v5 I used a Docker container to experiment without changing my environment.

This method became even more necessary with Golang. Different open source projects built against different versions. I found staying synced to the correct version with the correct configuration and path settings to be non-trivial. Version managers helped maintain my system but didn’t help me sync with others.

With Docker and a simple Bash command, you can launch the correct versions, with the directories mapped to particular locations and interact with it as if it was on your local machine. For example, the following command launches a Golang environment for my application.

docker run -it --rm
-w /go/src/github.com/$(NAME)
-v $(pwd)/vendor/github.com/:/go/src/github.com/
-v $(pwd):/go/src/github.com/$(NAME)
golang:1.4.2

The command maps the current directory to /go/src/github.com/. I store all the vendor dependencies in /vendor/ in source control, but remap them to a different location for the Golang runtime. I can run the same commands such as go get or go build as if Golang was on my host. When I upgrade, I just delete the docker image and pull down the correct version. Nothing else hanging around on my host.
Mark Rendle recently used this same approach for running the latest version of DotNet on different Linux distros called DockNet. By moving the runtime into a container, you have greater control, flexibility and shareability.

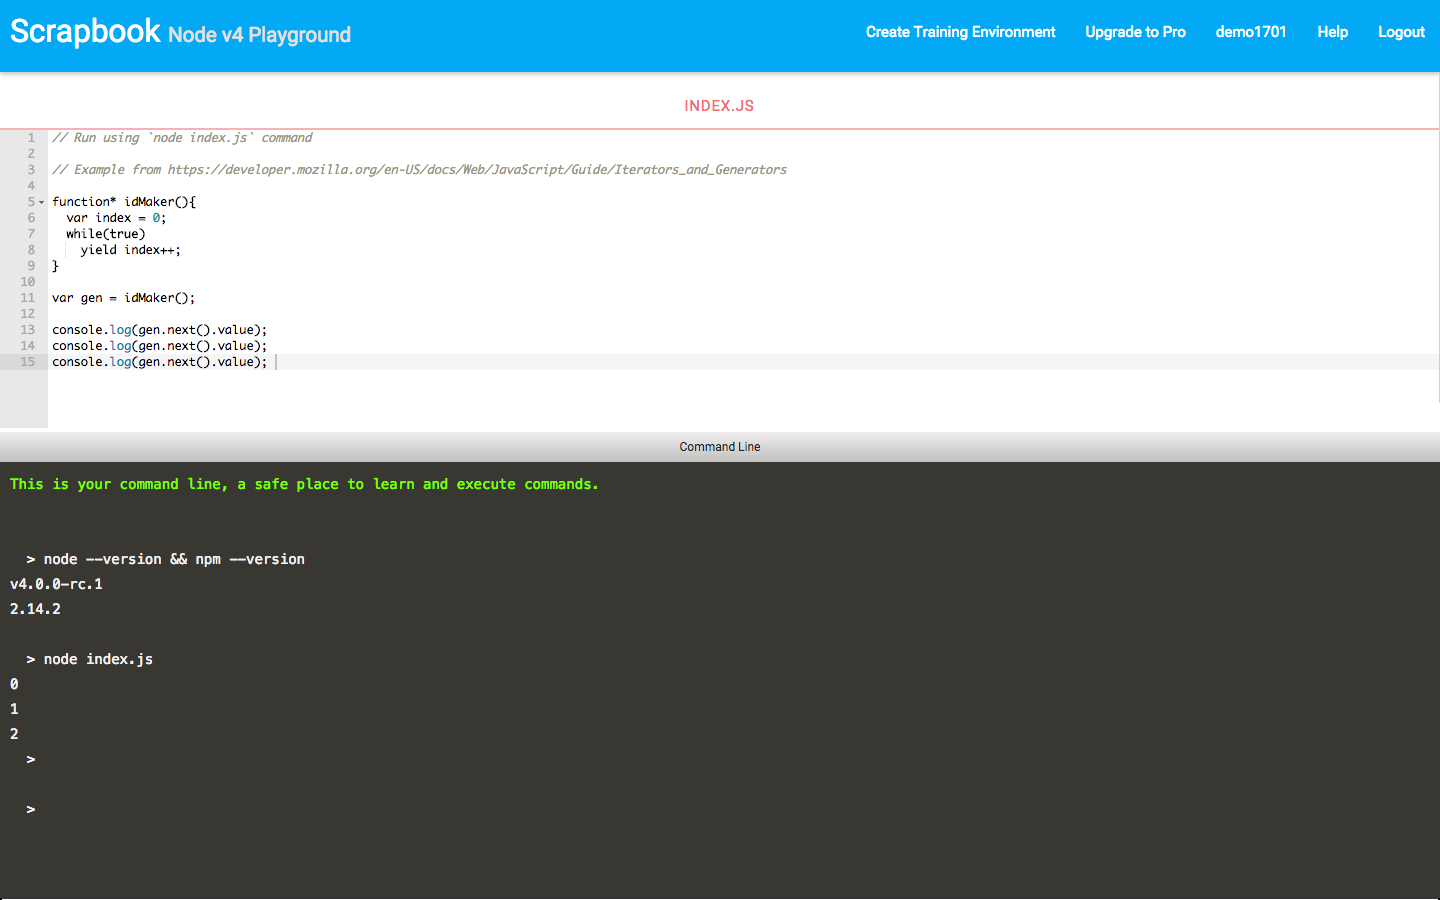
Want to see it in action? Load the Katacoda environment below. The editor has a simple “Hello World” application. Clicking Run will launch you into a Docker container, where you can run node, start the process and access the service like usual.

var http = require(“http”);
var requestListener = function (req, res) {
res.writeHead(200);
res.end(“Hello, World!”);
}
var server = http.createServer(requestListener);
server.listen(3000, function() { console.log(“Listening on port 3000”)});

Learn Node.js v4 in your browser with Scrapbook’s #nodejs v4 playground

At Scrapbook we’re focused on making it easier to learn the latest technologies. Today we’re releasing a Node.js v4 playground.

This playground allows you learn the new features and changes without having to download or configure anything. You can load the playground at http://www.joinscrapbook.com/ben_hall/scenarios/node-v4

Node.js v4

The v4 release of Node.js is a significant change as it’s the first release since the io.js merger. Finally you can use the new ES6 features like Generators with Node.js. Try Generators & Node.js using Scrapbook

If you’re interested in helping us write scenarios and examples for Node.js v4 then please contact us

Node.js OnBuild Docker Images

Everyday Docker is becoming easier to use with the community pushing the platform in new ways and lowering the barrier of entry. Recently (18th December 2014) the Node.js community created a new OnBuild Docker image. The OnBuild image takes the base node:0.10.34 image and automatically copies your application source code, installs NPM packages and launches the application based on the defined NPM Start command. It’s a very nice abstraction and the use of npm makes it very generic. As a result, an application Docker file simply looks like this:

FROM node:0.10.34-onbuild
EXPOSE 3000

The docker commands remain the same as before.

docker build -t my-nodejs-app .
docker run -it --rm --name my-running-app my-nodejs-app

The OnBuild pattern appears to be common across multiple different languages, for example here is GoLang’s OnBuild Dockerfile.

Very useful for quickly getting up and running with Node.js and Docker.

Storing Node.js application config data

I’ve tried multiple approaches to storing application configuration with Node.js but most have been painful until I found this solution.

tl;dr: Executable configuration FTW via exports.

With Node.js you can export an object or function for use within another module. This is key to keeping your Node.js application readable and structured which as I’ve found can be an art-form in itself.

My current approach is as follows.

I have a config.js which looks like this.

var url = require(‘url’)


var config = {}


config.google = {};
config.redis = {};


config.google.id = process.env.GOOGLE_ID || ‘DEVELOPMENT.googleusercontent.com’;
config.google.secret=  process.env.GOOGLE_SECRET || ‘DEVELOPMENT’;
config.google.callback=  process.env.GOOGLE_CALLBACK || ‘http://127.0.0.1:3000/google/callback’;


config.redis.url=  url.parse(process.env.REDISTOGO_URL || ‘http://127.0.0.1:6379’);


module.exports = config;

Because it’s a standard JavaScript module, when Node.js loads the file it will be executed with the config hash created. This has two important aspects.

Firstly, I can include other helper modules, such as being able to return a parsed url.

Secondly, I can take advantage of the current environment to determine if production or development values should be returned. This is great when combined with Heroku.

With the configuration defined, the logic to access the configuration looks like this:

var config = require(‘./config’)
var id = config.google.id
var url = config.redis.url

No if statements, no redefining variables, no swapping files around. Clean, simple, effective.

If I wanted to have additional confidence then if NODE_ENV equaled production I could ensure all environment variables are not undefined.

This is working for me, but has anyone found any better solutions? Leave a comment or tweet me @Ben_Hall

Using Redis and RedisToGo to store Node.js sessions on Heroku

Storing data in the session state is a little bit naughty as HTTP should remain stateless but there is a trade-off. In this case I wanted to test an assumption around a potential feature for Mayday. I felt it was more important to release than over architecture the entire solution with the possibility of dropping the  feature the next day.

When it comes to Node.js, session state is stored in-memory meaning any restarts or new deployments will delete the data.

Enter Redis

Redis is an ultra-fast, open source, advanced key-value store. To make it even easier, RedisToGo offer a hosted version with a Heroku plugin. After adding the plugin, an account will be created with a database URL provided as a configuration variable.

$ heroku config
REDISTOGO_URL   => redis://redistogo:[email protected]:9712/
NODE_ENV        => production

To use this as your session store you will need to configure the middleware by defining a RedisStore from the connect-redis npm.

The require statements should look like this:

var express = require(‘express’);
var RedisStore = require(‘connect-redis’)(express);

var url = require(‘url’)

For development you will want to use your local server.
app.configure(‘development’, function(){         
  app.use(express.session({ secret: “password”, 
                            store: new RedisStore({
                                          host: “127.0.0.1”,
                                          port: “6379”,
                                          db: “name_of_my_local_db”
                                        })  
          }));
}); 


For production you should use the RedisToGo URL provided. 
app.configure(‘production’, function(){
 var redisUrl = url.parse(process.env.REDISTOGO_URL);
 var redisAuth = redisUrl.auth.split(‘:’);


 app.use(express.session({ secret: “password”, 
                           store: new RedisStore({
                                        host: redisUrl.hostname,
                                        port: redisUrl.port,
                                        db: redisAuth[0],
                                        pass: redisAuth[1]
                                      })  
         }));
});

Node.js and Connect-Redis will do the rest for you.

The key will be the session id for the user with the value being a JSON serialised object of req.session.

Getting node-compress to work on Node 0.6

I have a lot of respect for Node, but sometimes certain npm packages become out of sync with the latest version and break. Today, that npm package was node-compress.

While the package looked to build, when attempting to require the module it would error.

$ node
> var c = require(‘compress’)
Error: Cannot find module ‘compress’

After a quick look around on GitHub I found a fork with the fix https://github.com/elliotttf/node-compress/

In your package.json, simply reference the tarball, clean out the node_modules directory, install and everything should work again.

Package.json

    , “compress”:”https://github.com/elliotttf/node-compress/tarball/1edaa48bf33f7c836f1e275691e1d8645f0a71c3″

Remove X-Powered-By for Express and NodeJS

When responding to a web request it’s common for servers to tell the client various bits of information. The one they enjoy most is some promotion around the name and version “powering” the site. Sadly, hackers also love this as it gives them more information for an attack vector.

By default, ExpressJS with NodeJS will return a X-Powered-By header.

$ curl -I 0.0.0.0:3000/
HTTP/1.1 302 Moved Temporarily
X-Powered-By: Express

I wasn’t overly impressed by this but it’s easy to remove. In your application configuration, at the top, add a new middleware function which removes the header.

  app.configure(function(){
      app.use(function (req, res, next) {
        res.removeHeader(“X-Powered-By”);
        next();
      }); 


      app.set(‘views’, __dirname + ‘/views’);
      app.set(‘view engine’, ‘jade’);
      app.use(express.bodyParser());
      app.use(express.methodOverride());
      app.use(express.cookieParser());
      app.use(express.static(__dirname + ‘/static’));
  });

Simple.

Finding out where that console.log output is coming from

While trying to solve a problem, we have all sometimes done a little console.log outputting to help us gain additional understanding. While it’s far from the most effect way of debugging, it’s more annoying when those statements appear in your production logs. That was my scenario today.

Thankfully, with a simple grep command I was able to identified all of my “debugging” statements and the lines they occurred on.

$ grep -nr console * | grep -v “node_modules/*” | grep -v “static/”

endpoints/browser_stats.js:35:        if(error) { console.log(error); }
endpoints/browser_stats.js:51:        if(error) { console.log(error); }
endpoints/browser_stats.js:67:        if(error) { console.log(error); }
endpoints/events.js:16:    console.log(eventsUrl);
endpoints/events.js:17:    console.log(hitsUrl);
endpoints/events.js:20:        if(error) { console.log(error); }
endpoints/events.js:27:            if(error) { console.log(error); }
passport.js:23:      console.log(“Auth”);

In this case, I filtered out any matches from node_modules and static javascript files. Keep in mind that in some cases it’s a node module causing the output.

A simple command to help keep your production logs clean and readable.

Using Nginx to server static files instead of Node.js

With NodeJS becoming popular with standard websites, a performance impact which is often overlooked is using the built-in NodeJS server to serve static files.  While NodeJS is self-hosting, it’s wise to place an Nginx server in-front and proxy requests. You can then use this to serve your static files allowing your node process to only handle dynamic content.

An example of how to configure Nginx to serve static files on a separate domain:

server {
        listen   80;
        server_name  static.domain.com;

        access_log  /var/log/nginx/static_domain_access.log;
        #access_log off; #Save disk space and IO

       location ~* ^.+.(jpg|jpeg|gif|png|ico|css|zip|tgz|gz|rar|bz2|pdf|txt|tar|wav|bmp|rtf|js|flv|swf|html|htm)$
       {
            root  /website/path/to/static/files/in/node/repository/public/;
       }
}

If your using Nginx as a node proxy then specifying multiple location configurations (untested) in your main domain config will mean you can make the infrastructure change without affecting the code.

       location ~* ^/images/.+.(jpg|jpeg|gif|png|ico|css)$
       {
            root  /website/path/to/static/files/in/node/repository/public/images/;
       }
        location ~* ^/stylesheets/.+.(css)$
       {
            root  /website/path/to/static/files/in/node/repository/public/stylesheets/;
       }
       location ~* ^/javascript/.+.(js)$
       {
            root  /website/path/to/static/files/in/node/repository/public/javascript/;
       }

More details at http://wiki.nginx.org/NginxHttpCoreModule#location

Few other points not covered:
1) Consider using a CDN and a separate domain to improve performance. The separate domain means cookies won’t be sent and allowing browsers to download artifacts in parallel which both improve performance. As an example, Facebook has www.fbcdn.com with Google using www.gstatic.com
2) Consider GZipping contents
3) Consider your caching strategy