Slides from a recent presentation I gave on Running Docker in Development and Production.
Keep an eye out for additional presentations, content and training material on Docker.
Slides from a recent presentation I gave on Running Docker in Development and Production.
Keep an eye out for additional presentations, content and training material on Docker.
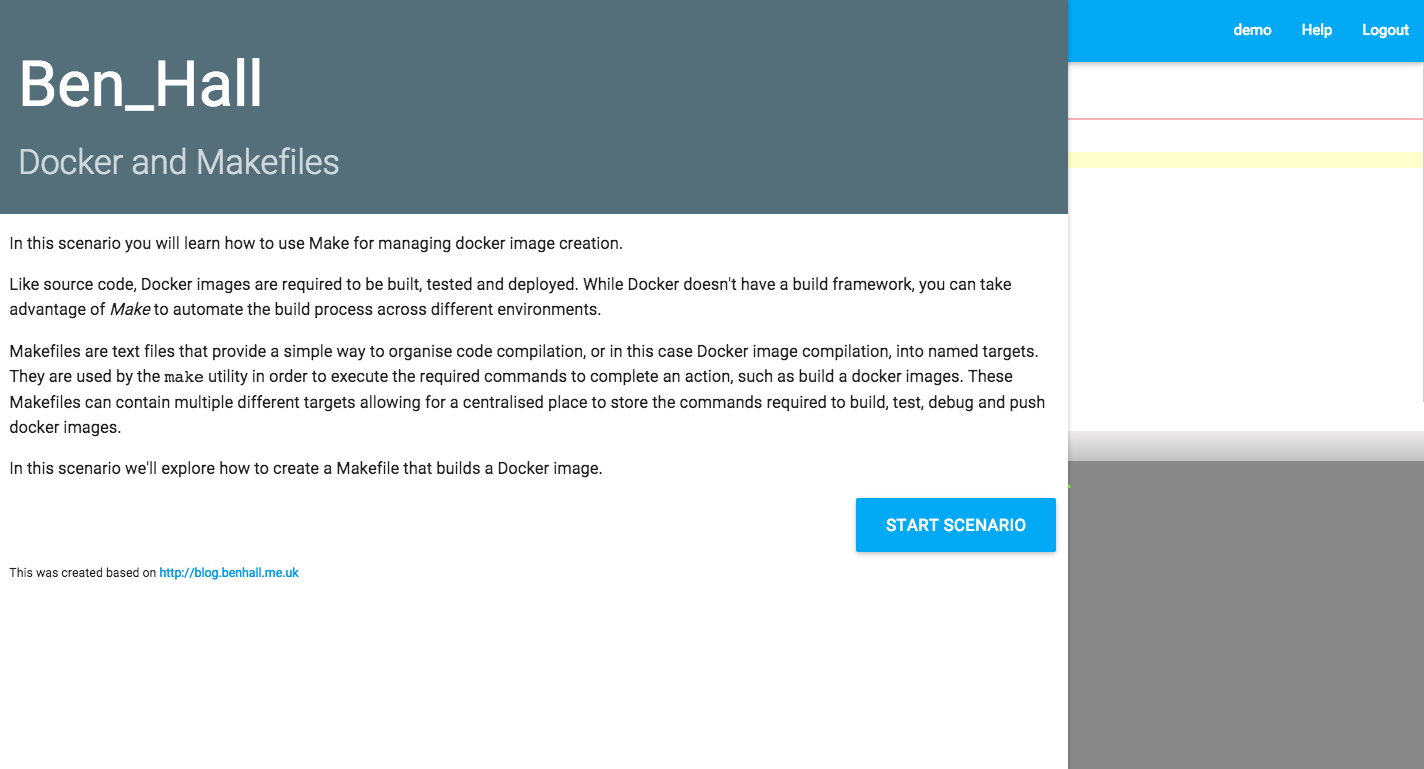
Like source code, Docker images are required to be built, tested and deployed before they can become containers.
While Docker doesn’t have a build framework, you can take advantage of Make to automate the build process across different environments. By using Make you can have a consistent and shared approach to managing your Docker images without the overhead of using task managers such as gulp.
To execute commands you need a Makefile. The Makefile contains a list of targets that define the commands and arguments required to be executed in order for a particular task to be performed, such as building a Docker image.
The contents of a Makefile might look like this:
build:
    docker build -t benhall/docker-make-example .
With this in your project’s root directory, executing the command `make build` will now build the container image.
A Makefile can define multiple targets reflecting different actions. The template below demonstrates a useful Makefile template covering the common scenario’s for managing Docker images.
NAME = benhall/docker-make-demo

default: build

build:
    docker build -t $(NAME) .

push:
    docker push $(NAME)

debug:
    docker run --rm -it $(NAME) /bin/bash

run:
    docker run --rm $(NAME)

release: build push
Learn Docker and Makefiles via Scrapbook, an Interactive Learning Environment.
Ngrok offers the ability to “I want to securely expose a local web server to the internet and capture all traffic for detailed inspection and replay.”
While playing with RStudio, a R IDE available inside a browser, what I actually wanted was ngrok to “securely expose a local web server running inside a container to the internet”
Turns out it is very easy. Let’s assume we have RStudio running via b2d on 8787.
To proxy to a port on our local machine we’d use:
$ ngrok 8787
Sadly this will fail as our b2d container is not running on 127.0.0.1
The way around it is to define the boot2docker hostname/IP address
$ ngrok b2d:8787
You’ll get the output:
Forwarding http://47df0f.ngrok.com -> b2d:8787
All HTTP requests to the domain will now be forwarded to your container. Very nice!
For those wondering why I have a b2d hostname, I added it to my hosts file because typing is sometimes the bottleneck.
$ cat /private/etc/hosts
192.168.59.103 b2d

While having a cache can help WordPress scale you encounter one of the hardest computer science problems of cache invalidation. When a new post is published then the homepage cache needs to be broken in order to refresh.
When using Varnish there is a really nice wordpress plugin called Varnish Http Purge. Under the covers when a new post or comment is published it issues a HTTP PURGE request to break the cache.
Unfortunately if you have cloudflare in front of your domain then it will attempt to process the PURGE request and fail with a 403. After all you don’t want the entire world being able to break your cache.
$ curl -XPURGE http://blog.benhall.me.uk
<html>
<head><title>403 Forbidden</title></head>
<body bgcolor="white">
<center><h1>403 Forbidden</h1></center>
<hr><center>cloudflare-nginx</center>
</body>
</html>
My solution was to add a /etc/hosts entry for the domain on my local machine to point to the local IP address. When a HTTP request is issue to the domain from my web server then it skips cloudflare and goes straight to the Varnish instance, allowing the cache to be broken and solving the problem.
In my previous post I discussed how my blog is hosted. While it’s a great configuration, it is running on a small instance and the WordPress cache plugins only offer limited value. Andrew Martin showed me his blitz.io stats and it put mine to shame. Adding Varnish, an HTTP accelerator designed for content-heavy dynamic web sites to the stack was agreed.
My aim was to have a varnish instance running in-between Nginx container that does the routing for all incoming requests to the server and my WordPress container. With a carefully crafted Varnish configuration file I use the following to bring up the container:
docker run -d --name blog_benhall_varnish-2
   --link blog_benhall-2:wordpress
   -e VIRTUAL_HOST=blog.benhall.me.uk
   -e VARNISH_BACKEND_PORT=80
   -e VARNISH_BACKEND_HOST=wordpress
   benhall/docker-varnish
The VIRTUAL_HOST environment variable is used for Nginx Proxy. The Docker link allowing Varnish and WordPress to communicate, my wordpress container is called blog_benhall-2. VARNISH_BACKEND_PORT defines the port WordPress runs on inside the container. VARNISH_BACKEND_HOST defines the internal hostname which we set while creating the docker link between containers.
When a request comes into the Varnish container it is either returned instantly or proxied to a different container and cached on the way back out.
Thanks to Nginx Proxy I didn’t have to change any configuration, as they simply reconfigured themselves as new containers were introduced. The setup really is a thing of beauty, that can now scale. I can use the same docker-varnish image to cache other containers in the future.
The Dockerfile and configuration can be found on Github.
The Docker image has been uploaded to my hub.
After a couple of months of using Boot2Docker you can quickly produce a large number of images and containers.
$ docker images | wc -l

76
$ docker ps -a | wc -l

194
Each of these will be taking up valuable space on your drive. By default, boot2docker is only allocated a 18.2G disk so eventually when you attempt to build or pull new images it will fail due to running out of space.
The df command can be used after ssh’ing into the boot2docker VM to identify how much you have left. Boot2docker uses /mnt/sda1 for storing images and containers.
$ boot2docker ssh

$ df -h

Filesystem Size Used Available Use% Mounted on

rootfs 1.8G 203.5M 1.6G 11% /

tmpfs 1.8G 203.5M 1.6G 11% /

tmpfs 1004.2M 0 1004.2M 0% /dev/shm

/dev/sda1 18.2G 18.2G 0K 0% /mnt/sda1

cgroup 1004.2M 0 1004.2M 0% /sys/fs/cgroup

/dev/sda1 18.2G 18.2G 0K 0% /mnt/sda1/var/lib/docker/aufs
If you’ve ran out of space, one fix is to increase the size of the volume as described at https://docs.docker.com/articles/b2d_volume_resize/
The other, and potentially more sensible approach, is to perform some house keeping.
Firstly, to remove any exited containers you can use the command. Not this will remove any data inside the container unless it has been mounted as a separate volume.
$ docker ps -a -q | xargs -n 1 -I {} docker rm {}
The most space can be recovered by removing images, especially untagged images. Untagged images occurs when an image has been built but is only referred to via the latest tag. When a future image is built with the same name then the previous image is untagged as it’s no longer the latest version. If it hasn’t been tagged with another name then it will become untagged. Thanks to Mike Hadlow for the shell script to clean them up.
$ docker rmi $( docker images | grep '<none>' | tr -s ' ' | cut -d ' ' -f 3)
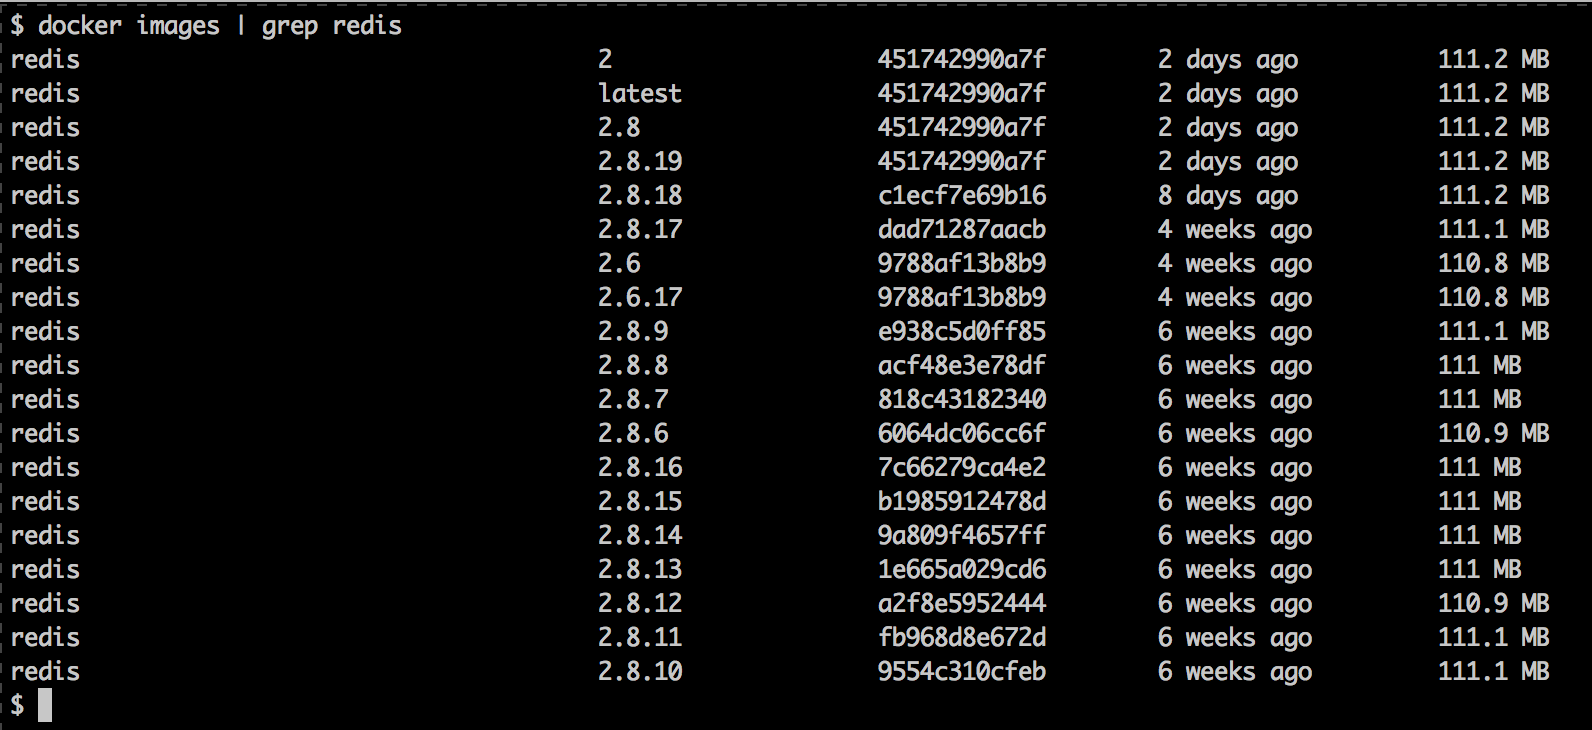
Another problem, as I’ve discussed in a previous blog post, is you might have downloaded more image tags than you expected via fig or docker pull. For example I accentially had 19 versions of redis on my local machine when I only needed one.
$ docker images | grep redis | wc -l

19
These are easily cleaned up by replacing <none> with the image names you want to remove.
$ docker rmi $( docker images | grep 'redis' | tr -s ' ' | cut -d ' ' -f 3)
Alternatively, if this is just too much hard work then simply burn it all and start again.
$ boot2docker destroy

$ boot2docker init
Recently I encountered an issue with my Docker containers having a different date/time to the host machine. Running the following commands would highlight the issue:
$ date

Mon 22 Dec 2014 16:05:53 GMT
$ docker run --rm -i busybox date

Mon Dec 20 09:53:03 UTC 2014
The problem was due to the Boot2Docker virtual machine on OSX. The following command synchronises the time between host and VM machine ensuring that newly launched docker containers have the correct time.
$ boot2docker ssh "date; sudo ntpd -q -p 0.uk.pool.ntp.org; date";
NOTE: This is based on testing with Docker 1.2 with fig 1.0.1. Please let me know if it has been fixed.
In my previous post I discussed the FROM instruction inside a Dockerfile and the :latest tag. This highlights a deeper problem with Docker, the :latest tag and it’s use with docker pull. Highlighted in a github issue, docker pull and the FROM instructions have different behaviours. While inside a Dockerfile, FROM will assume :latest where as docker pull will assume you mean everything.
This appeared to be fixed in an accepted pull request:
https://github.com/unclejack/docker/commit/b8e338144e90a6bb76110ab04cc216966640a3f4
However looked at the master branch of the client I cannot see any code to handle the scenario of not including a tag with the docker pull command.
https://github.com/docker/docker/blob/master/pkg/parsers/parsers.go#L68-L77
https://github.com/docker/docker/blob/master/api/client/commands.go#L2079-L2110
As a result, when you enter docker pull node, instead of downloading just the latest version as you generally require you will download every node version available.
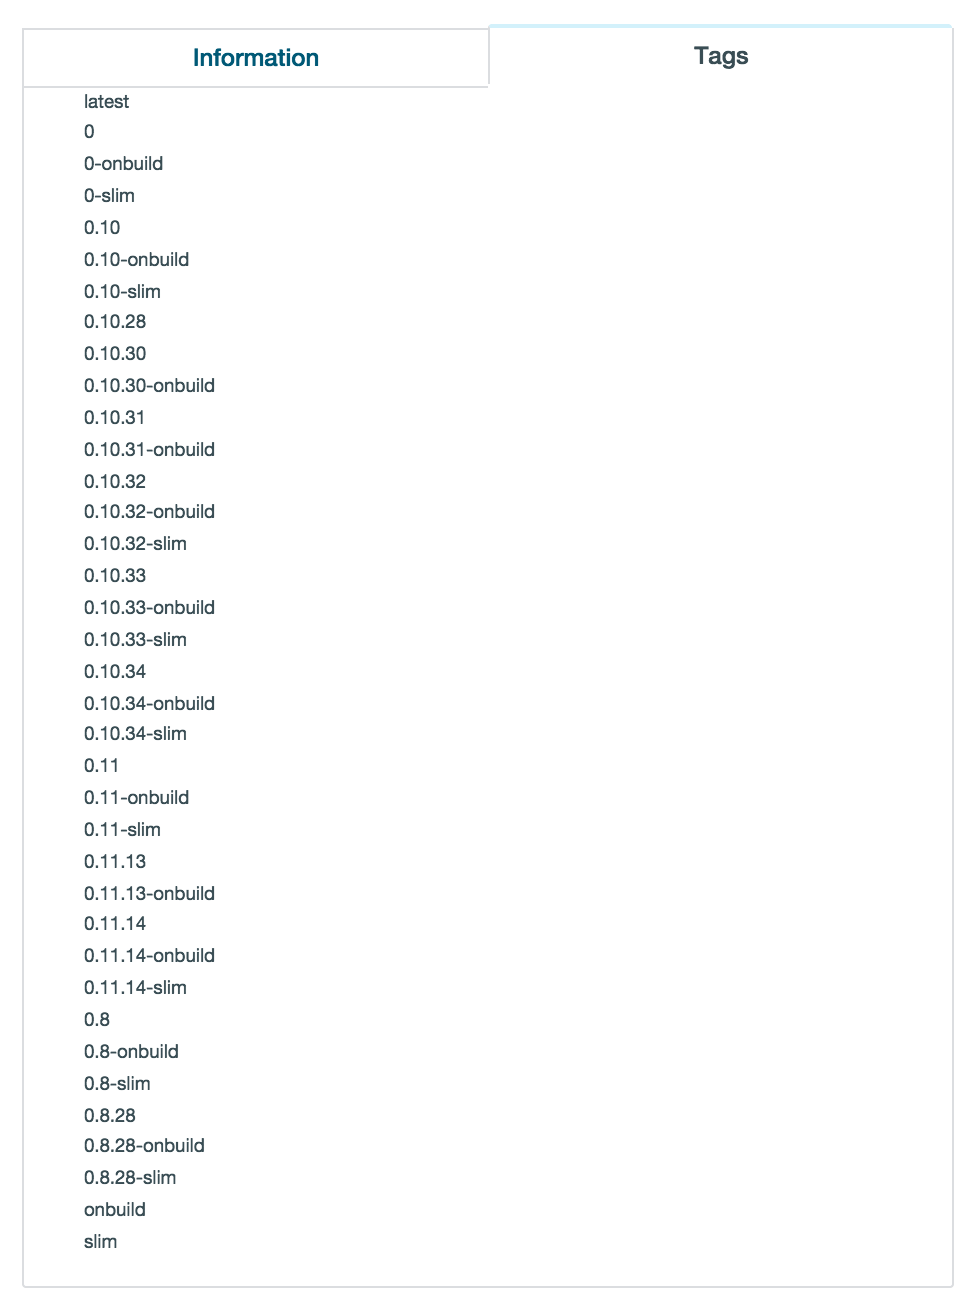
Surprisingly the Registry itself encourages you to download every tag instead of the latest.

Likewise with fig, a tool to help manage running containers. Without defining a tag it will pull all tags in order to bring up the image.
This is a very common mistake and it’s easy to see why sometimes it feels like Docker is downloading the entire internet when you only wanted a single version. It’s important to include a tag when pulling a docker image to save you downloading the internet.
Everyday Docker is becoming easier to use with the community pushing the platform in new ways and lowering the barrier of entry. Recently (18th December 2014) the Node.js community created a new OnBuild Docker image. The OnBuild image takes the base node:0.10.34 image and automatically copies your application source code, installs NPM packages and launches the application based on the defined NPM Start command. It’s a very nice abstraction and the use of npm makes it very generic. As a result, an application Docker file simply looks like this:
 FROM node:0.10.34-onbuild

EXPOSE 3000
The docker commands remain the same as before.
 docker build -t my-nodejs-app .

docker run -it --rm --name my-running-app my-nodejs-app
The OnBuild pattern appears to be common across multiple different languages, for example here is GoLang’s OnBuild Dockerfile.
Very useful for quickly getting up and running with Node.js and Docker.
During NDC London 2014, Carl and Richard from the DotNetRocks interviewed me about Containers, Docker, and it’s future on the .NET and Windows platform. You can listen to the show at http://dotnetrocks.com/default.aspx?showNum=1077